How to Use Planning Mode and Next Edit Prediction in Android Studio Panda 4
A practical tutorial for Android Studio Panda 4: Planning Mode, Next Edit Prediction, the Gemini API Starter template, Agent Web Search, and Ask Mode.
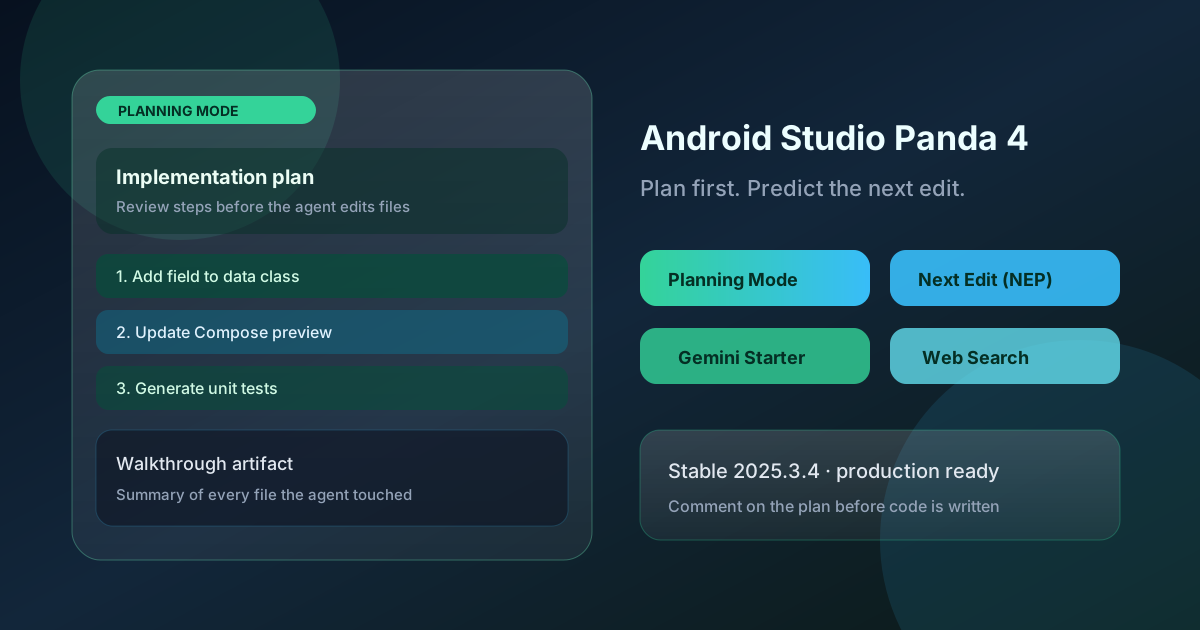
Android Studio Panda 4 is the stable April 2026 release of Google’s IDE. Official release notes call it production-ready and group the headline work around the Gemini agent: Planning Mode, Next Edit Prediction (NEP), a Gemini API Starter project template, Agent Web Search, and a dedicated Ask conversation mode.
This guide is a how-to, not a recap of the blog post. It walks through when to use each feature, the exact UI path Google documents, and the review habits that keep an agent from rewriting half your module.
What you need
- Android Studio Panda 4 (version line 2025.3.4) or later. Patch 1 shipped in May 2026 with additional bug fixes.
- A Google account signed into Android Studio so Gemini features can run.
- Optional: a Google One AI Pro or Ultra plan. Panda 4 raises rate limits for the default Gemini model in Agent Mode when you are signed in with that plan. Google states this does not consume quota for Gemini CLI or Antigravity.
Download current Studio from the official Android Studio page. If you are already on Panda 3, use the in-product updater rather than a side-by-side install unless you need both.
Planning Mode: plan before the agent writes code
Google’s product note is blunt: jumping into a large coding task without a design creates debt for humans, and the same is true for an agent. Planning Mode is a conversation mode, not a separate window.
In this mode the agent does not immediately predict the next token of code. It runs a multi-stage pass: inspect the request, draft an implementation plan for large or complex work, take your comments, then execute.
How to turn it on
- Open your project in Android Studio Panda 4.
- Open the Gemini / Agent panel.
- In the agent input box, switch conversation mode from the default execution mode to Planning.
- Write one bounded prompt. Name the module, the user-visible change, and what “done” means (compile, preview, unit test).
- Read the Implementation Plan artifact before anything is written.
If the plan is wrong, add comments on the steps and click Submit Comments. The agent revises the plan. Do not skip that step to “save time.” The whole point of the mode is to spend tokens on the plan instead of on a bad first patch.
What you should see during a run
Google documents two more artifacts after you accept the plan:
- Task List — the agent breaks execution into tracked items so a long change stays ordered.
- Walkthrough — after the work finishes, you get a summary of what changed so review starts from a checklist instead of a raw diff.
Treat the walkthrough as the start of review, not the end. Confirm Gradle still syncs, the relevant Compose preview still renders, and no unrelated files moved.
When Planning Mode is the right tool
Use it when the change crosses files or architecture:
- Add a screen that needs a ViewModel, navigation route, and preview
- Migrate a feature module to a newer Compose or CameraX pattern
- Split one class into a repository plus a UI state holder
Skip it for one-line fixes. Planning Mode is built for work that needs architectural precision. A rename or a color token does not.
Next Edit Prediction: edits away from the cursor
Classic AI completion fills the line under the caret. Next Edit Prediction is built for the other half of Android work: you change a data class or a constructor, and the next honest edit is twenty lines away or in another file.
NEP uses Gemini to look at recent edits across files and suggest the next logical change, including “away from cursor” updates. Official examples include:
- A function gains a parameter; call sites need the new argument
- A Composable changes; the
@Previewneeds to match - A data class field is renamed; a distant mapper still uses the old name
How to use NEP without fighting the editor
- Make the first intentional edit yourself (add the field, change the signature).
- Pause. If NEP has a suggestion, it will surface the next location rather than only completing the current line.
- Accept the multi-location suggestion with the single keystroke Studio shows in the UI.
- Keep going until the chain stops. Then run the module.
Do not accept a chain you have not glanced at. NEP is a consistency tool. It is not a license to skip the compiler.
A concrete refactor loop
Suppose Recipe gains a prepMinutes: Int field.
- Update the data class.
- Let NEP jump to the constructor call in your repository fake.
- Accept the preview parameter update on the recipe card Composable.
- Stop and write or generate the unit test for the new field instead of hoping the UI preview is enough.
That last step is still yours. Panda 4 can generate unit tests with Gemini from Kotlin or Java sources (setup, mocks, branches), but you still decide which branches matter.
Gemini API Starter template
If the goal is an app that talks to Gemini rather than an agent that edits your existing app, start from the new project template instead of wiring Firebase by hand.
Google’s documented benefits:
- No client-side API key management — the template uses Firebase AI Logic so you do not embed or rotate keys in the APK
- Automated Firebase connection for the backend path to Gemini models
- Production-shaped architecture meant to scale past a local prototype
- Multimodal inputs — text, image, video, and audio are in the official feature list (image analysis, video summarization, audio transcription)
Steps
- Open Android Studio.
- Go to File → New → New Project.
- Choose Gemini API Starter in the template gallery.
- Complete the Firebase / Google sign-in prompts the wizard shows.
- Run on an emulator and confirm a single multimodal call before you restyle the UI.
Keep secrets on the Firebase side. If a sample file still contains a placeholder key, treat that as a bug in your copy of the project, not as a reason to ship a key.
Agent Web Search and Ask Mode
The in-IDE agent already uses the Android Knowledge Base for official docs. Agent Web Search is the extra tool for the rest of the ecosystem: Coil setup notes, Koin config, Moshi adapters, current library versions.
It can fire on its own when the agent sees a gap. You can also force it by including “search the web for…” in the prompt.
Ask Mode in Panda 4 replaces the old Ask tab with a dedicated conversation mode. Use it when you want an explanation and no file edits. Planning Mode is for a plan-then-patch. Ask Mode is for “why is this Recomposition happening” without giving the agent a write lock.
Other Panda 4 checks worth knowing
The same release notes add two non-agent items that affect ship day:
- Developer verification status appears when you generate a signed App Bundle or APK, ahead of the verification requirement for certified Android devices starting September 2026.
- Google One higher Agent Mode rate limits, as noted above.
Panda 2 and 3 features remain relevant: the AI New Project flow and Version Upgrade Assistant (Panda 2), plus project agent skills in a .skills directory and permission / sandbox controls (Panda 3).
A one-hour practice session
- Update Studio to Panda 4 / 2025.3.4 Patch 1 or newer.
- Open a small feature module you already understand.
- In Ask Mode, have the agent explain the current navigation graph. Confirm it is right.
- Switch to Planning Mode. Ask for one new field on an existing screen, with a preview update and a unit test.
- Comment on the plan so it cannot touch unrelated modules.
- Watch the Task List, then read the Walkthrough.
- Use NEP only for the leftover call-site fixes.
- Generate the signed bundle once and note the verification status line.
If any step surprises you, stop the agent. Skills, CLI, and Studio permissions from earlier Panda releases still apply.
Conclusion
Panda 4 is useful when you treat the agent as a junior teammate with a checklist. Planning Mode is the design review. Next Edit Prediction is the boring consistency pass. The Gemini API Starter is the clean path to an on-device-or-cloud Gemini feature without pasting keys into source. Web Search and Ask Mode keep the agent from guessing library versions or editing files when you only wanted an answer.
Download the stable channel, run one planned change on a branch you can throw away, and keep the Walkthrough next to your own diff.
Sources
- Level up your development with Planning Mode and Next Edit Prediction in Android Studio Panda 4 — Android Developers’ Blog, 21 April 2026
- Android Studio Panda 4 release notes — Android Developers
- Download Android Studio
- Android Knowledge Base for Gemini in Android Studio
- Google One AI plans
- Android developer verification
- What’s new in Android development tools (Google I/O) — Android Developers